Adjust Width & Position of Specific ggplot2 Boxplot in R (2 Examples)
In this R tutorial you’ll learn how to adjust the width and position of a specific boxplot in a grouped ggplot2 boxplot.
Preparing the Examples
data(iris) # Creating example data iris_new <- iris iris_new$subgroup <- letters[1:3] iris_new$subgroup[iris_new$Species == "setosa" & (iris_new$subgroup == "b" | iris_new$subgroup == "c")] <- "a" head(iris_new) # Sepal.Length Sepal.Width Petal.Length Petal.Width Species subgroup # 1 5.1 3.5 1.4 0.2 setosa a # 2 4.9 3.0 1.4 0.2 setosa a # 3 4.7 3.2 1.3 0.2 setosa a # 4 4.6 3.1 1.5 0.2 setosa a # 5 5.0 3.6 1.4 0.2 setosa a # 6 5.4 3.9 1.7 0.4 setosa a |
data(iris) # Creating example data iris_new <- iris iris_new$subgroup <- letters[1:3] iris_new$subgroup[iris_new$Species == "setosa" & (iris_new$subgroup == "b" | iris_new$subgroup == "c")] <- "a" head(iris_new) # Sepal.Length Sepal.Width Petal.Length Petal.Width Species subgroup # 1 5.1 3.5 1.4 0.2 setosa a # 2 4.9 3.0 1.4 0.2 setosa a # 3 4.7 3.2 1.3 0.2 setosa a # 4 4.6 3.1 1.5 0.2 setosa a # 5 5.0 3.6 1.4 0.2 setosa a # 6 5.4 3.9 1.7 0.4 setosa a
install.packages("ggplot2") # Install ggplot2 package library("ggplot2") # Load ggplot2 |
install.packages("ggplot2") # Install ggplot2 package library("ggplot2") # Load ggplot2
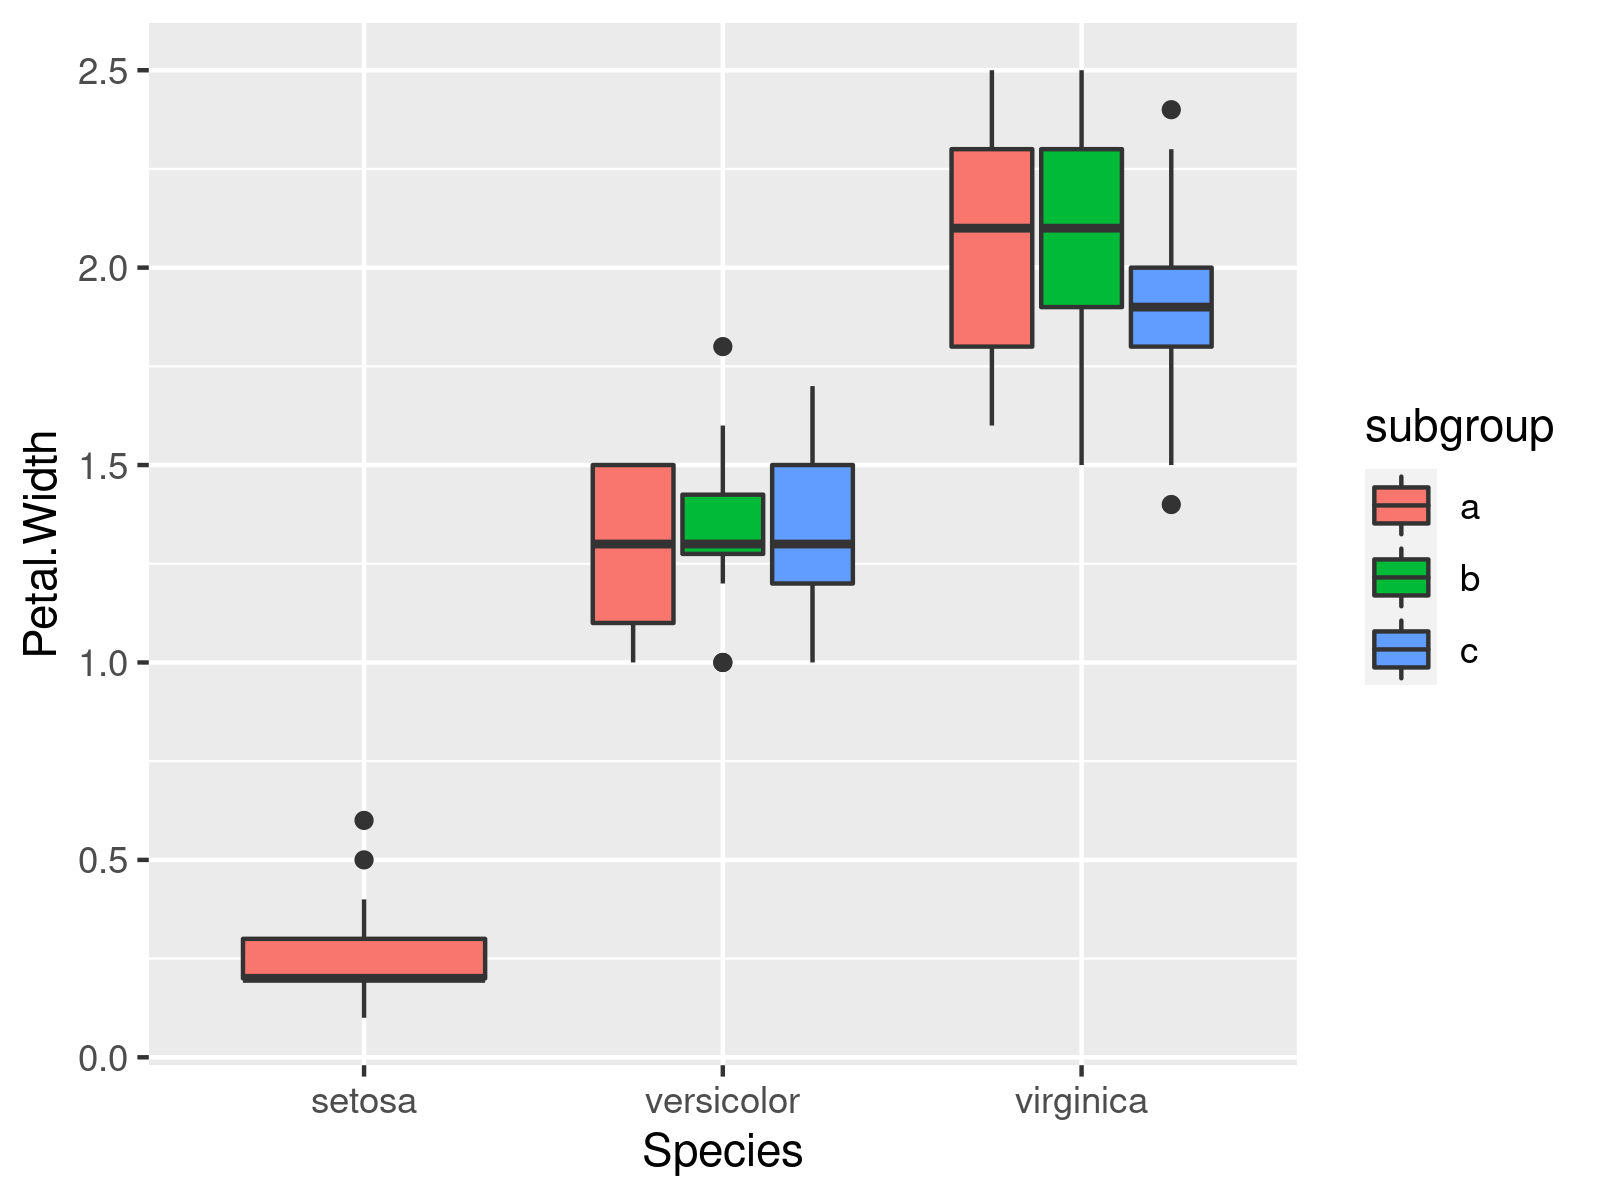
ggplot(iris_new, # ggplot2 boxplot with default specifications aes(x = Species, y = Petal.Width, fill = subgroup)) + geom_boxplot() |
ggplot(iris_new, # ggplot2 boxplot with default specifications aes(x = Species, y = Petal.Width, fill = subgroup)) + geom_boxplot()

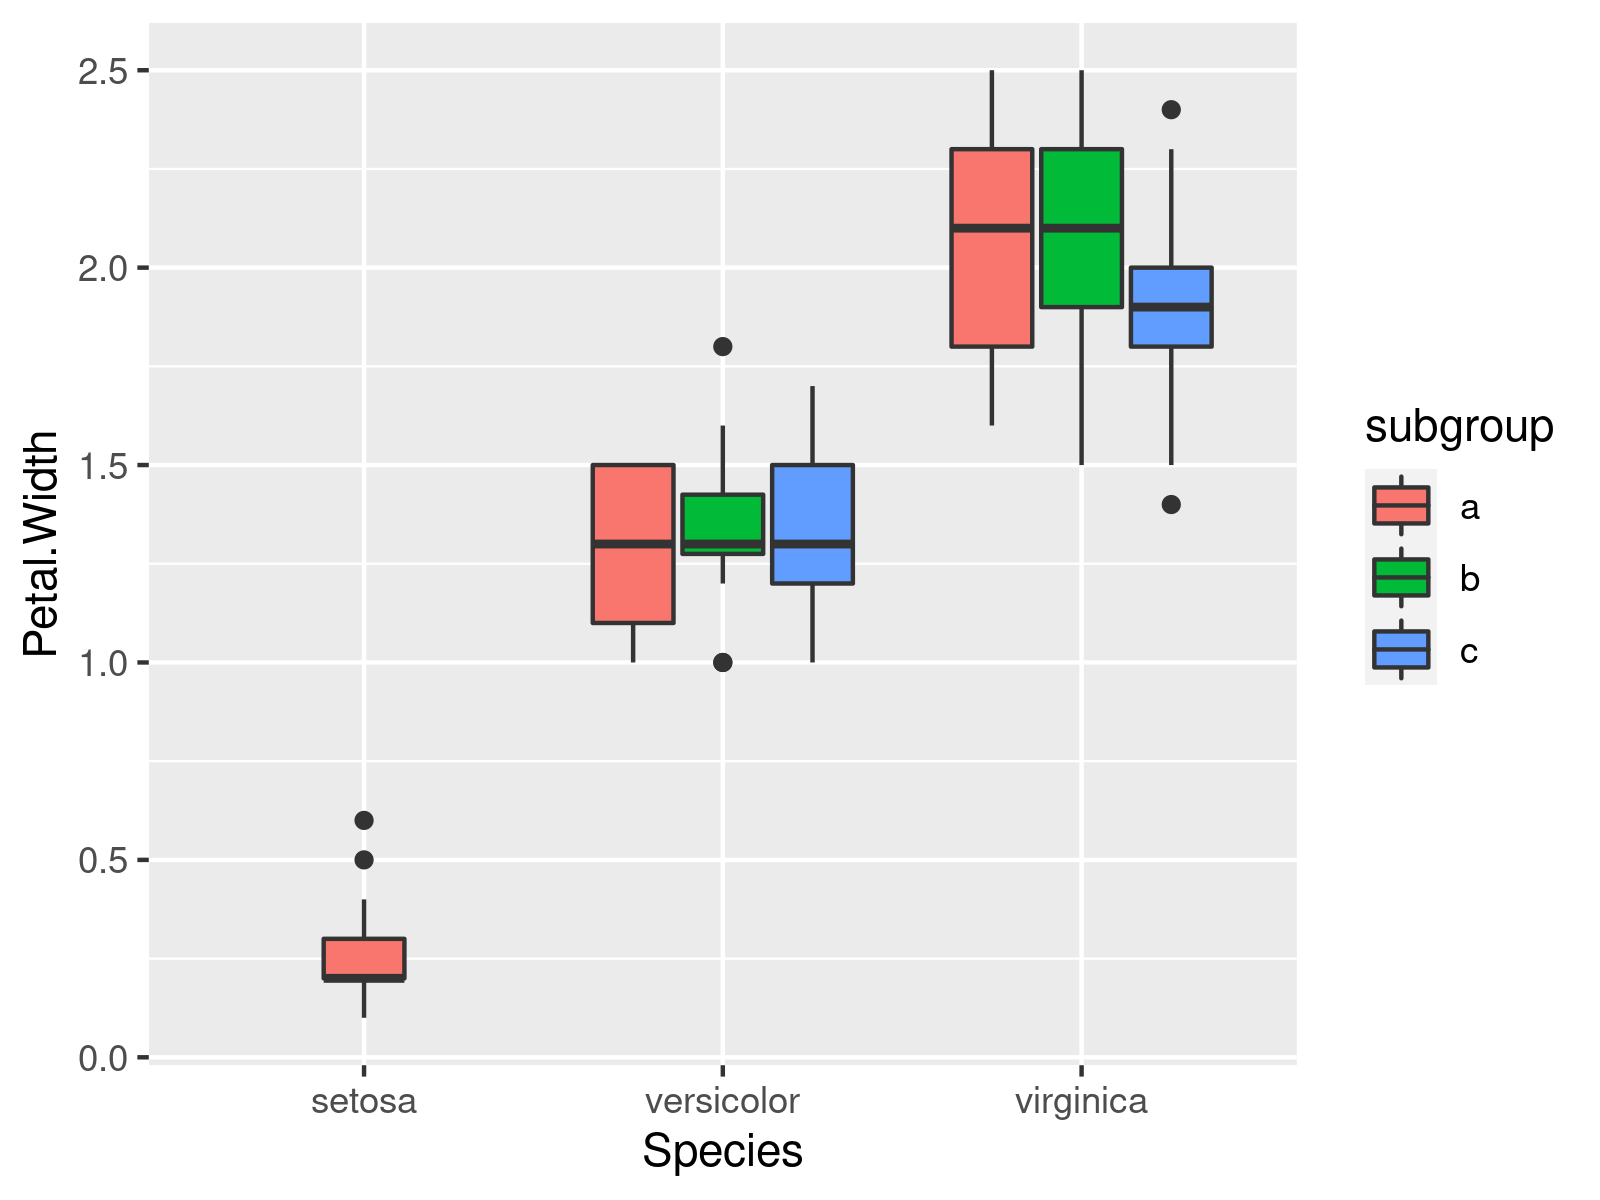
Example 1: Apply position_dodge2() Function Change to change Width of Grouped ggplot2 Boxplot
ggplot(iris_new, # Change width aes(x = Species, y = Petal.Width, fill = subgroup)) + geom_boxplot(position = position_dodge2(preserve = "single")) |
ggplot(iris_new, # Change width aes(x = Species, y = Petal.Width, fill = subgroup)) + geom_boxplot(position = position_dodge2(preserve = "single"))

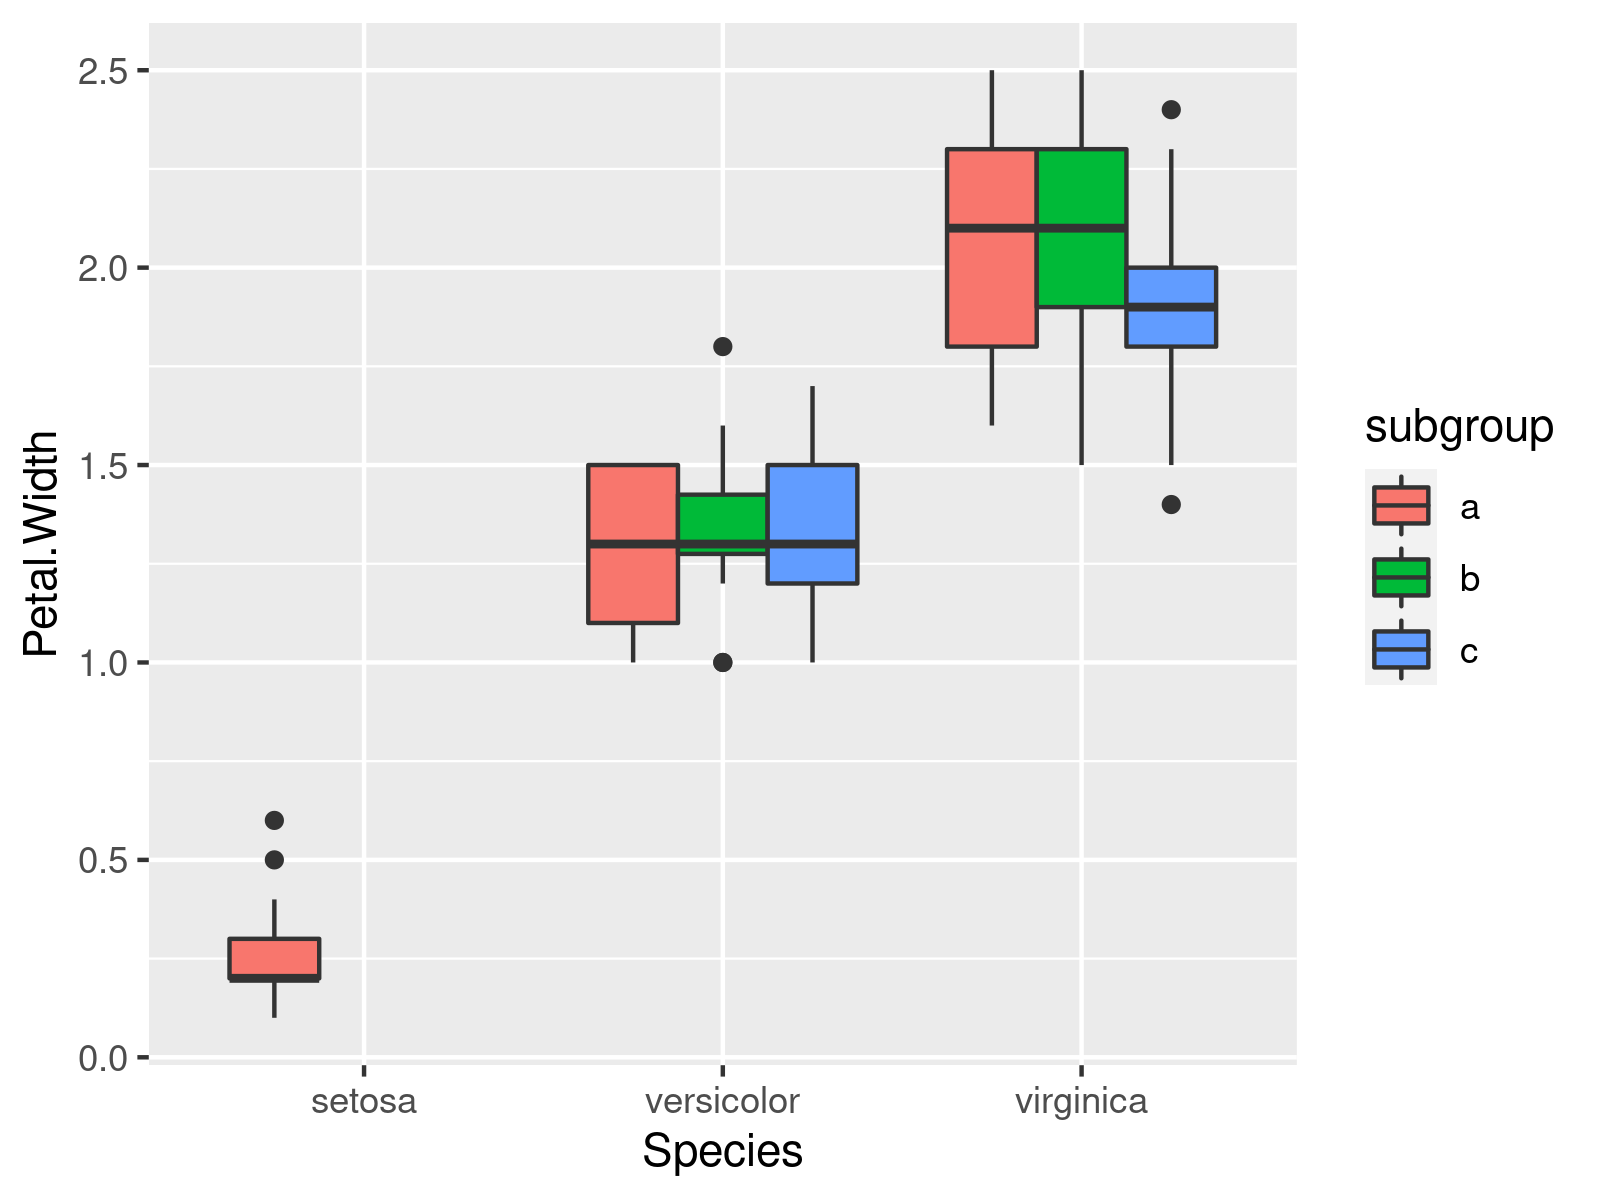
Example 2: Apply position_dodge2() Function Change to change Location of Grouped ggplot2 Boxplot
ggplot(iris_new, # Change position aes(x = Species, y = Petal.Width, fill = subgroup)) + geom_boxplot(position = position_dodge(preserve = "single")) |
ggplot(iris_new, # Change position aes(x = Species, y = Petal.Width, fill = subgroup)) + geom_boxplot(position = position_dodge(preserve = "single"))

Related Tutorials
Below, you can find some further resources that are related to the content of this article.
